Learn how to import newly created project with Eclipse
Before you import project using eclipse. Make sure you have installed Eclipse Gradle plugin
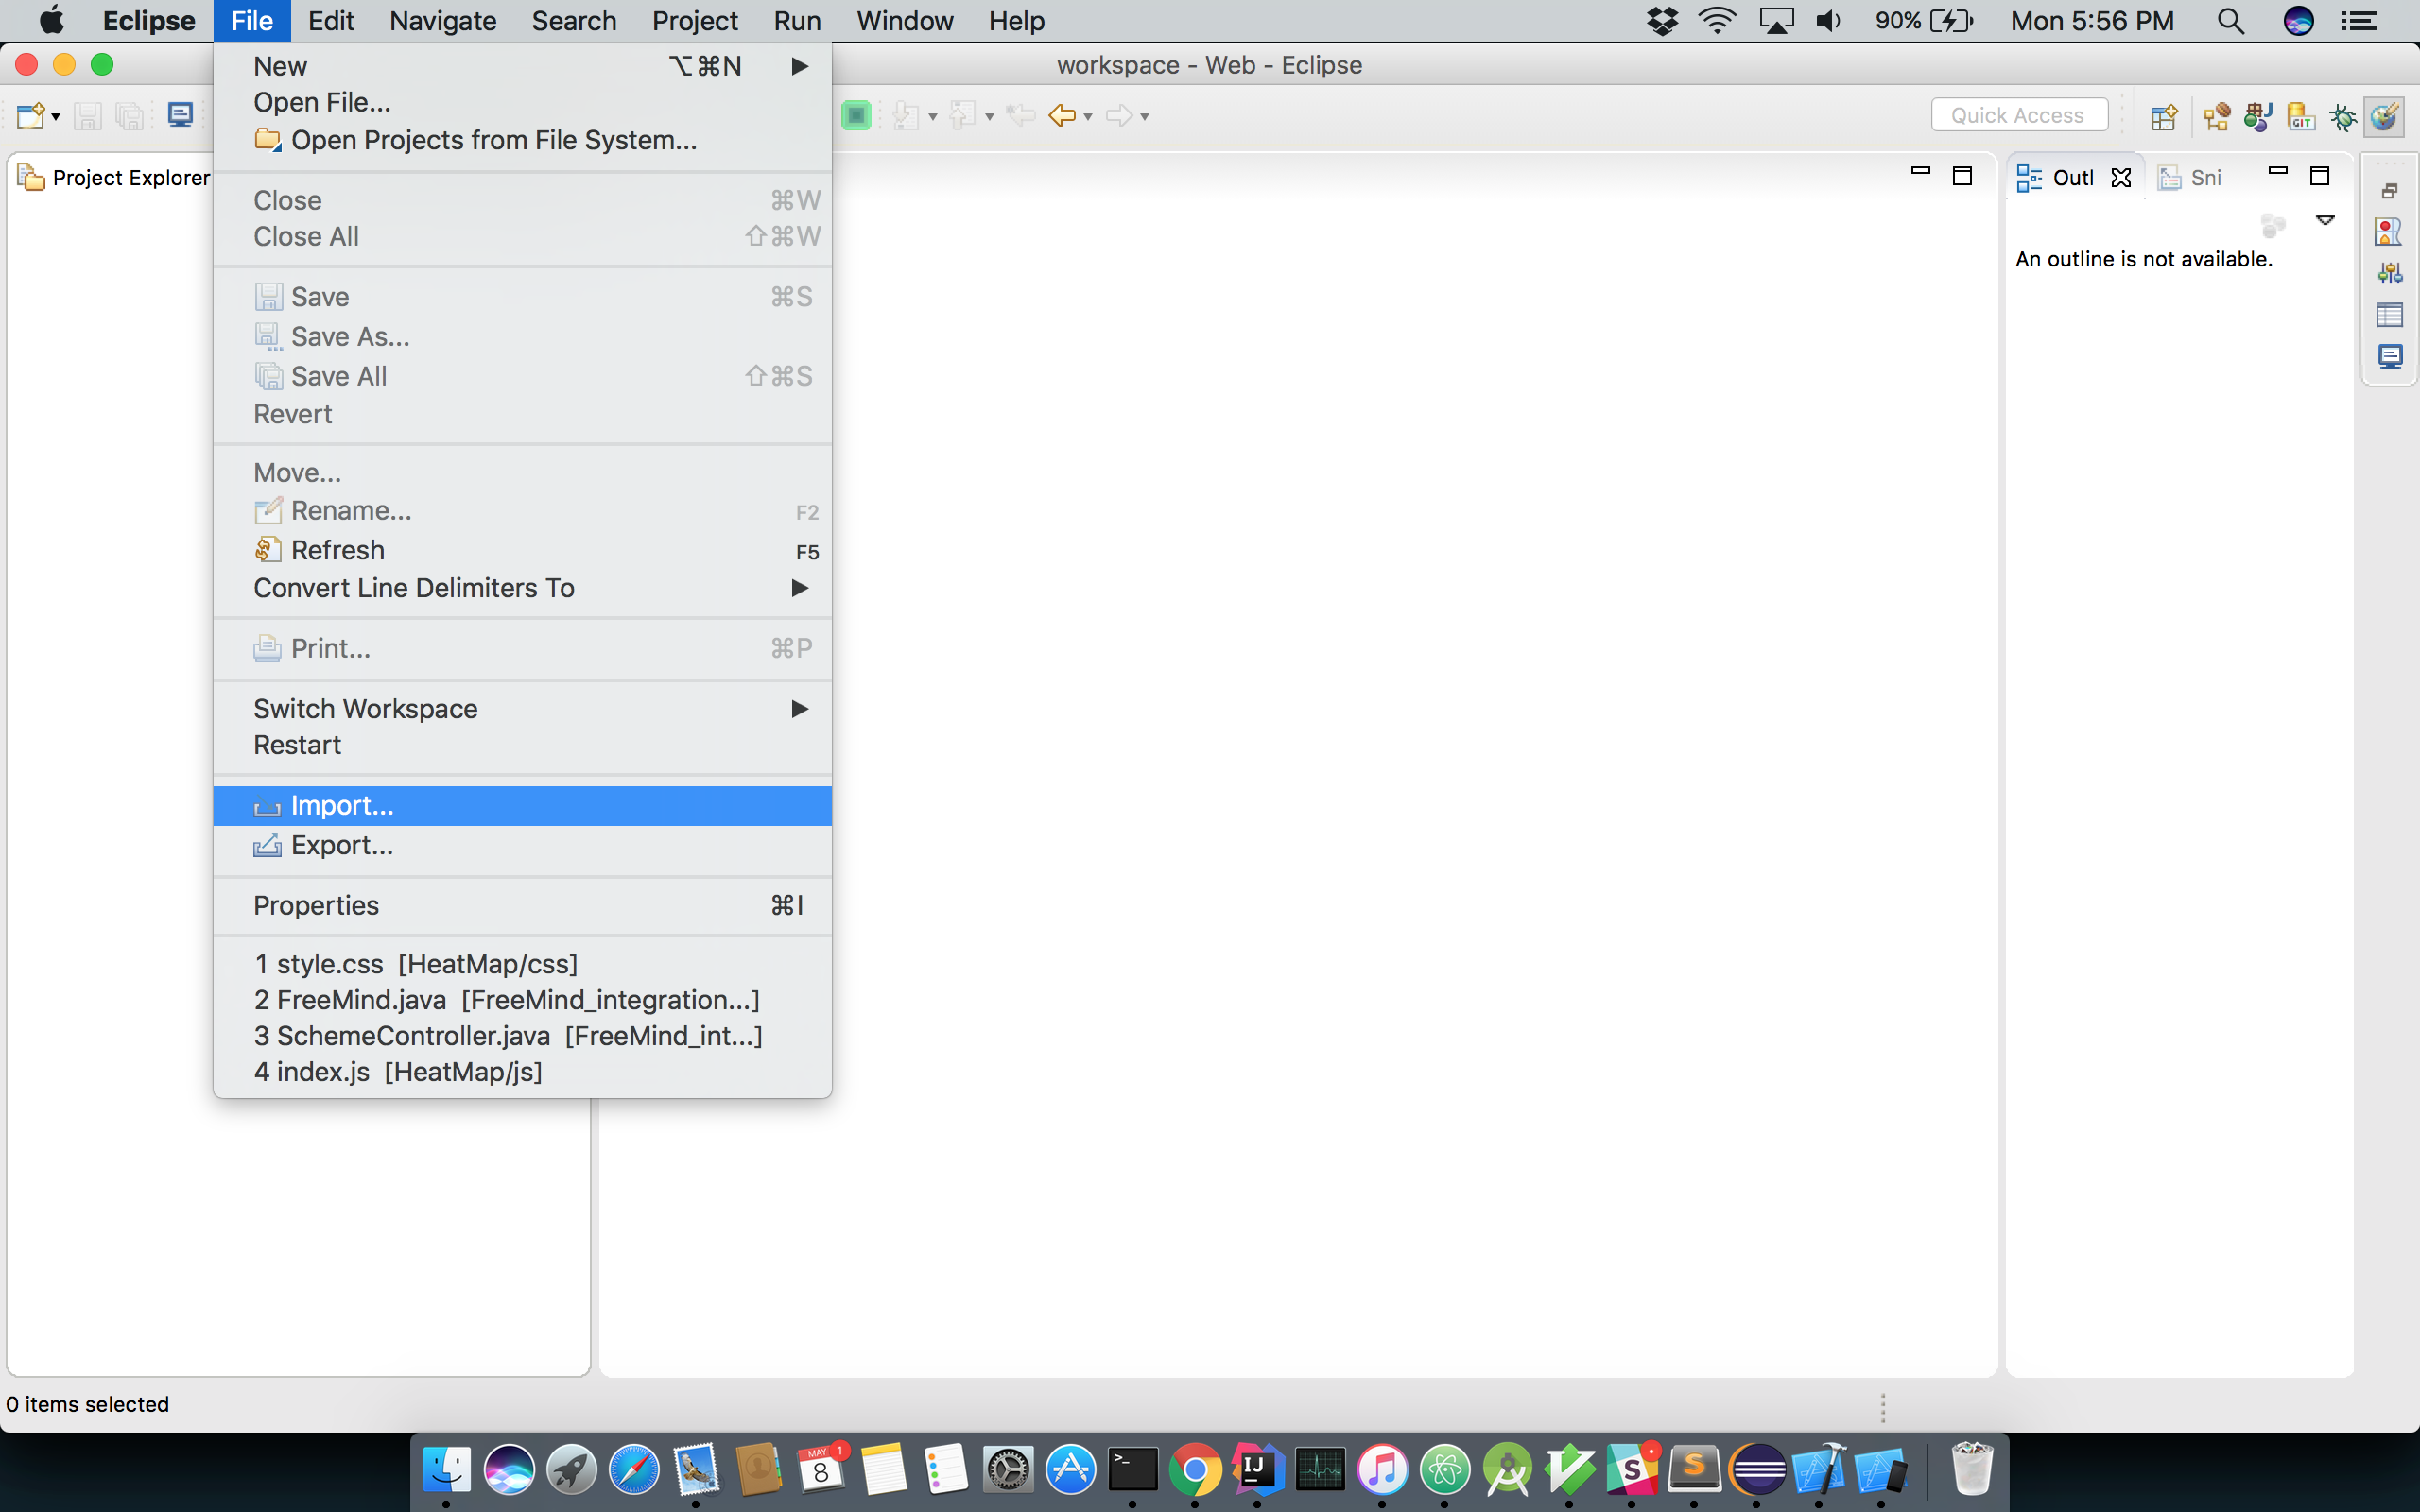
Step 1: Open Eclipse and navigate to file > import
Step 2: From the Import Type, select Gradle(STS) > Gradle (STS) Project and click next

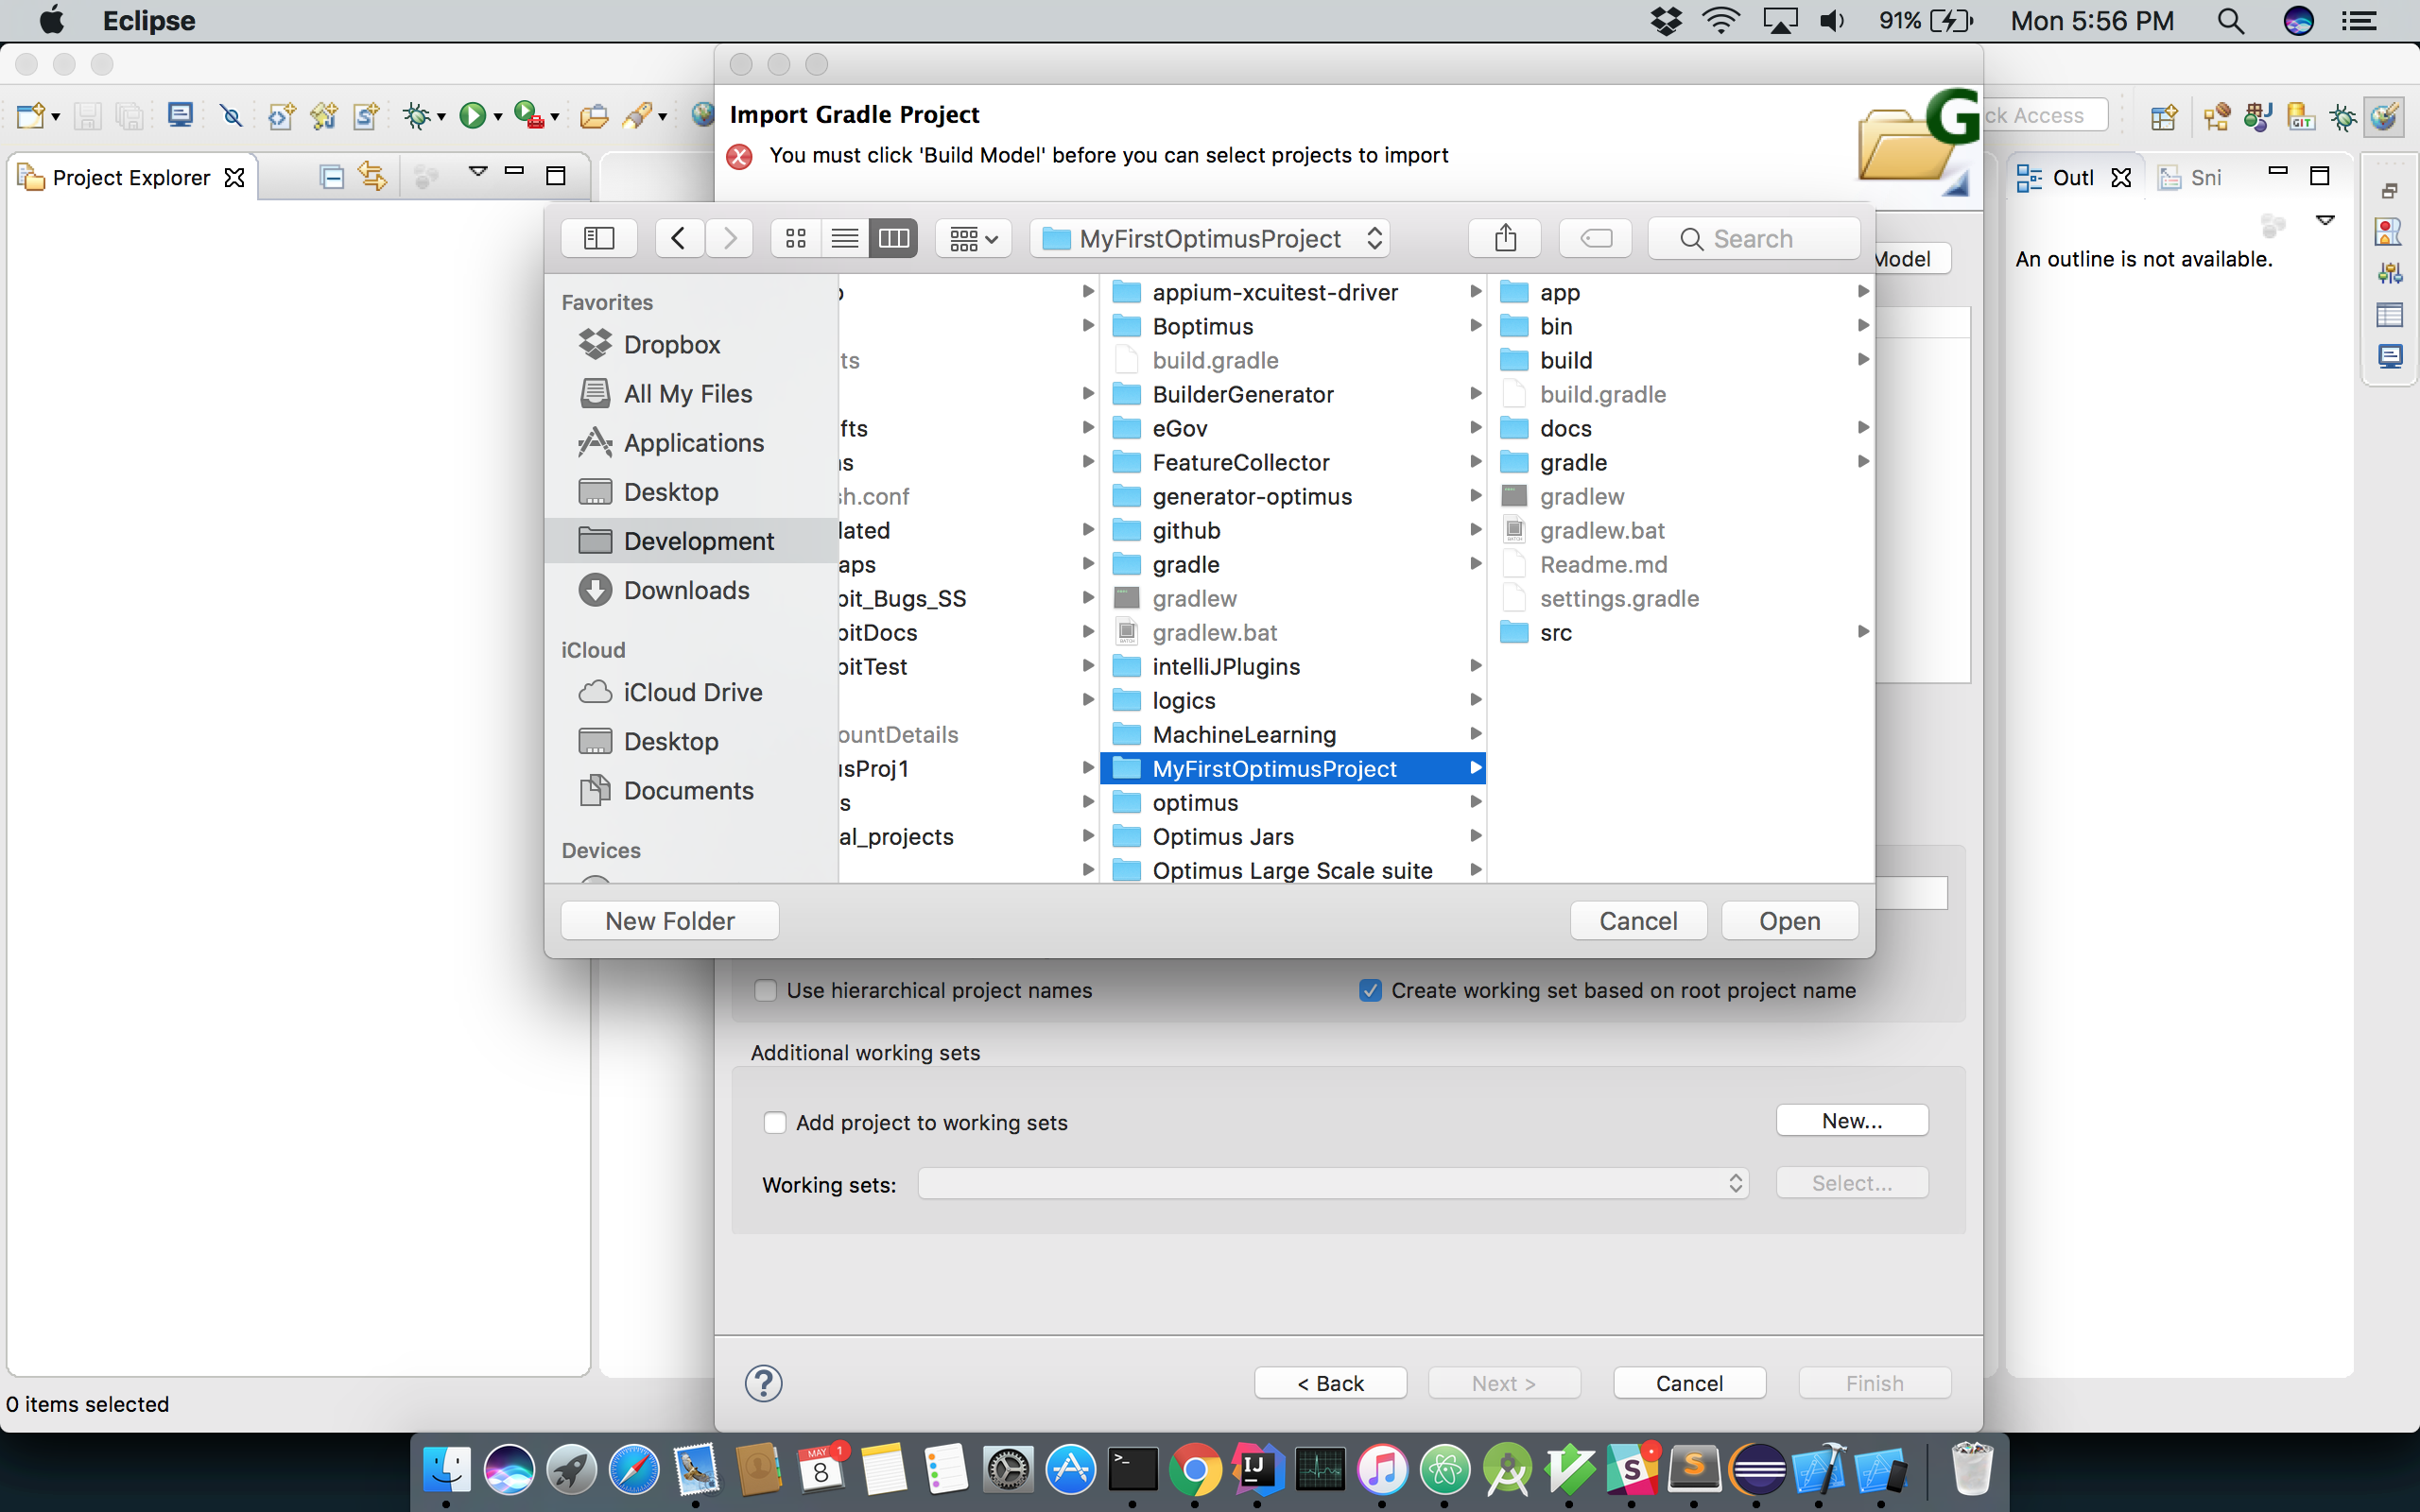
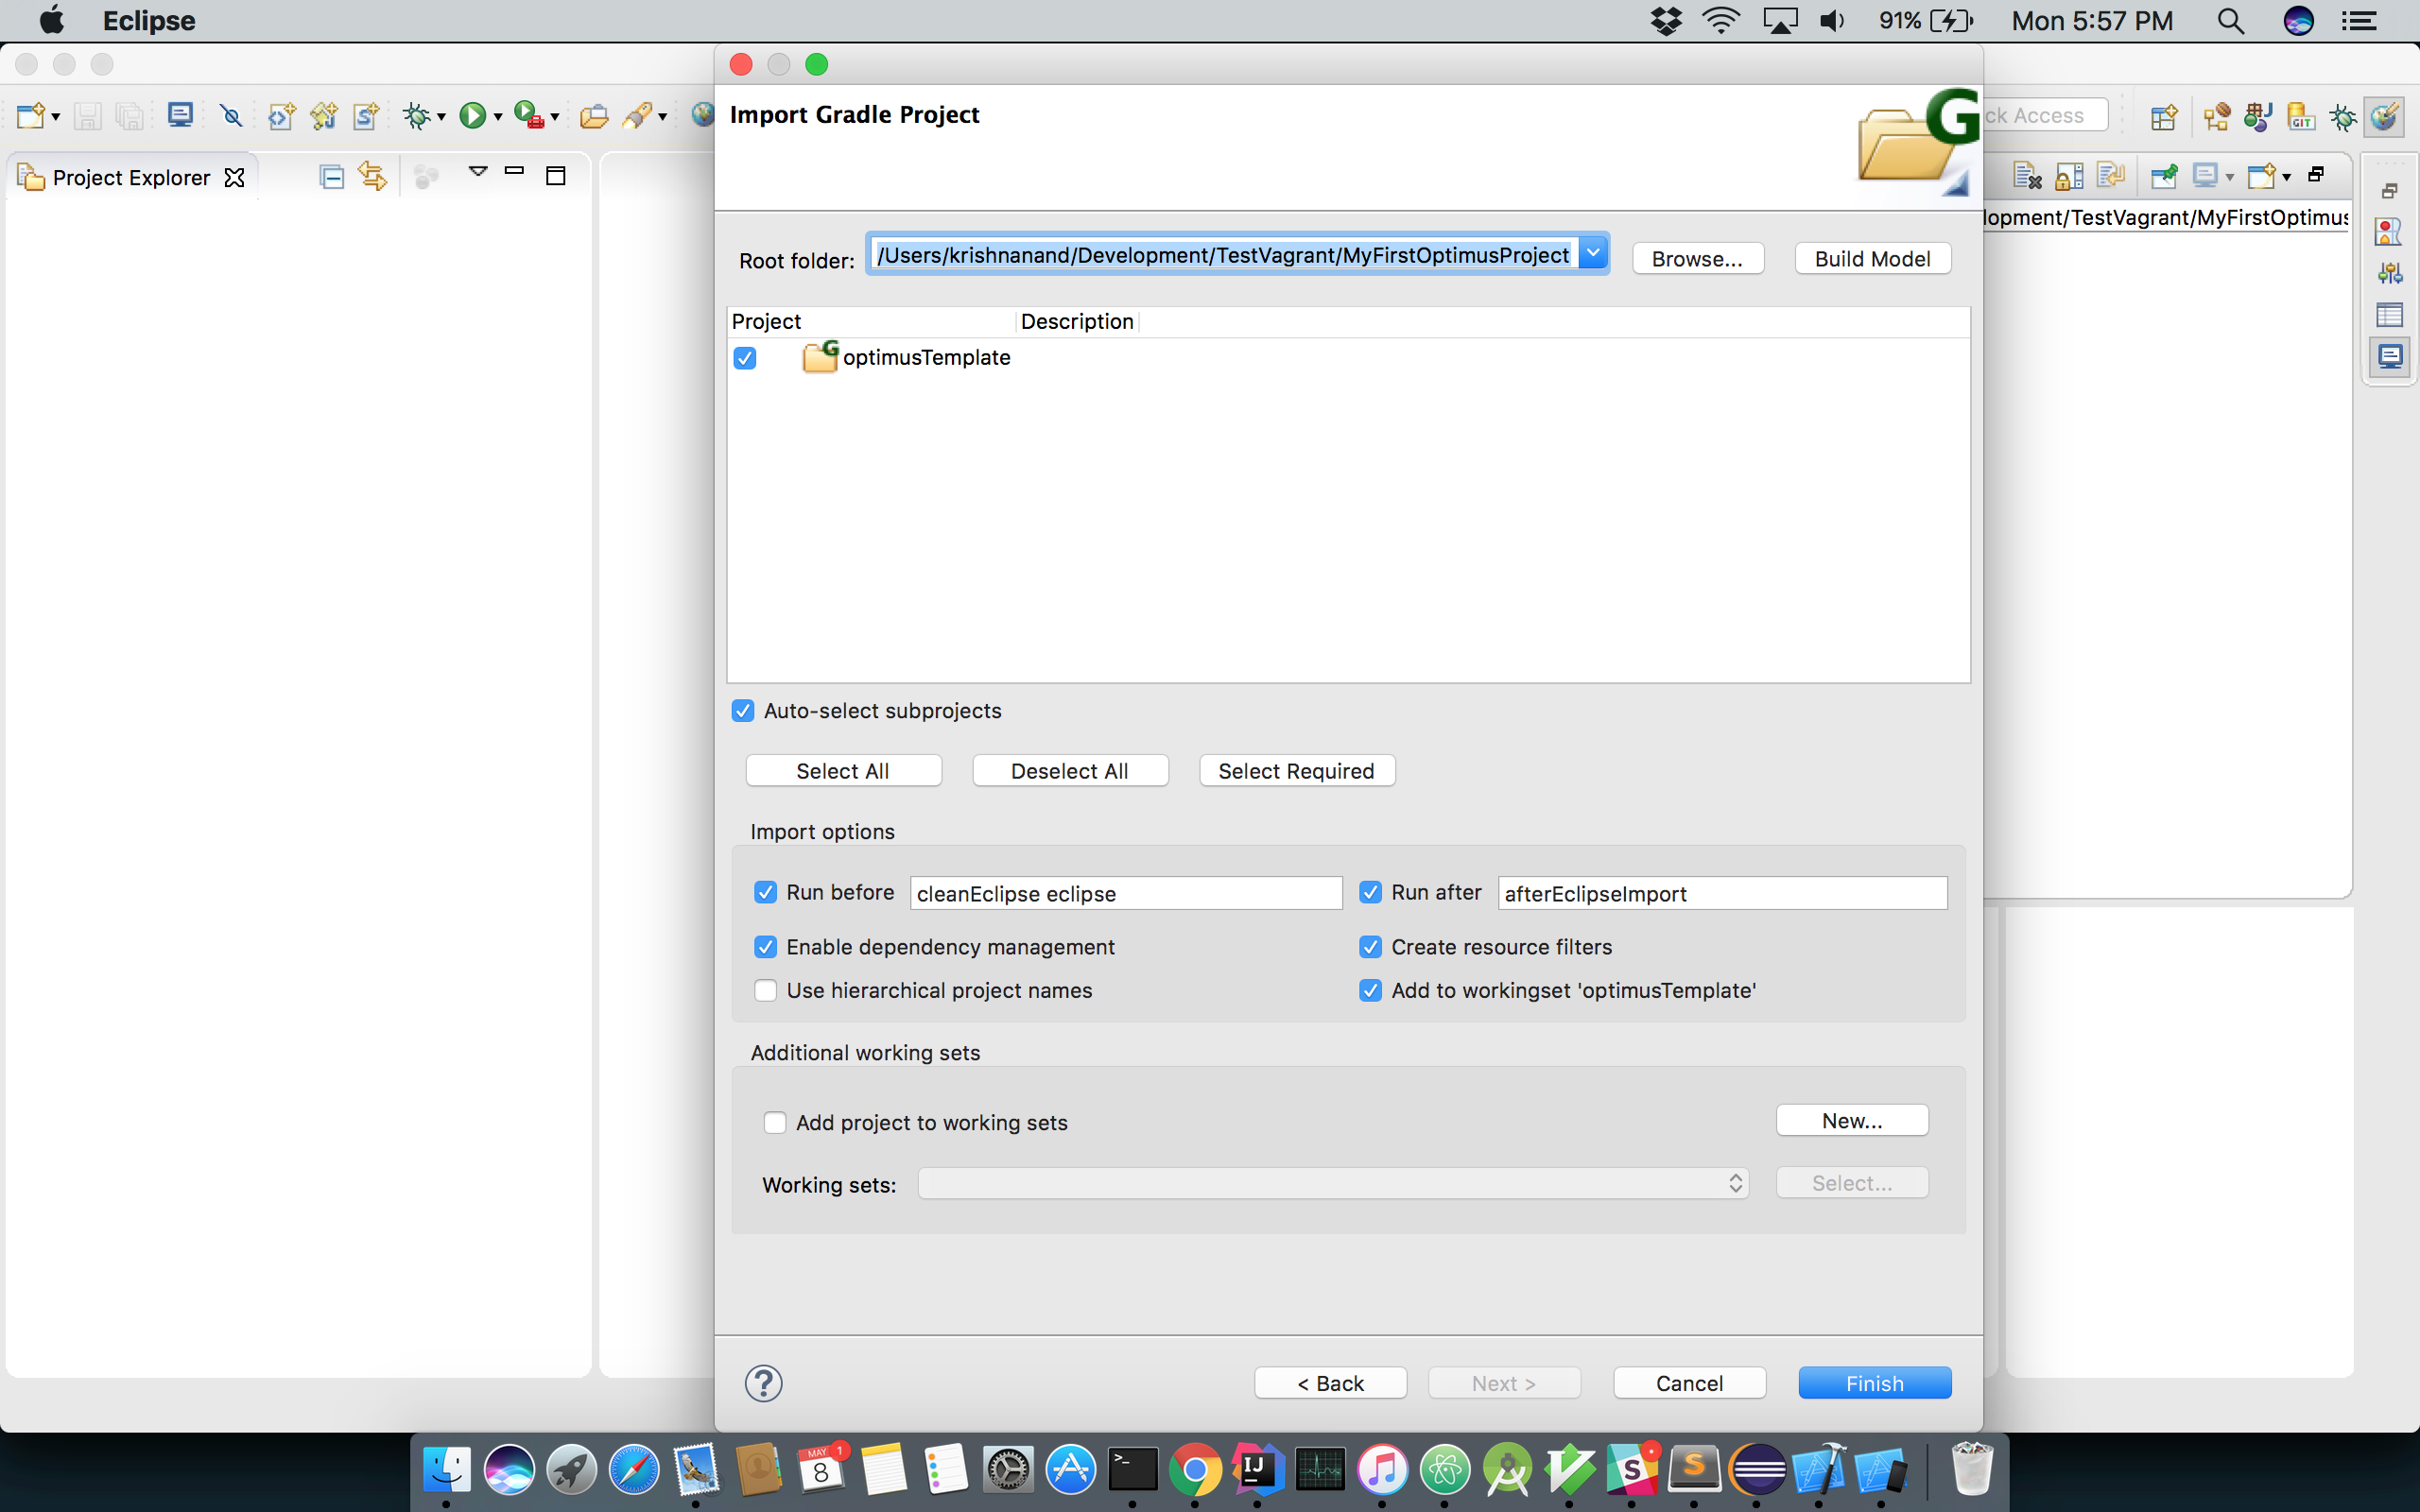
Step 3: Click Browse and navigate to the folder where you have created Optimus Project and click Open
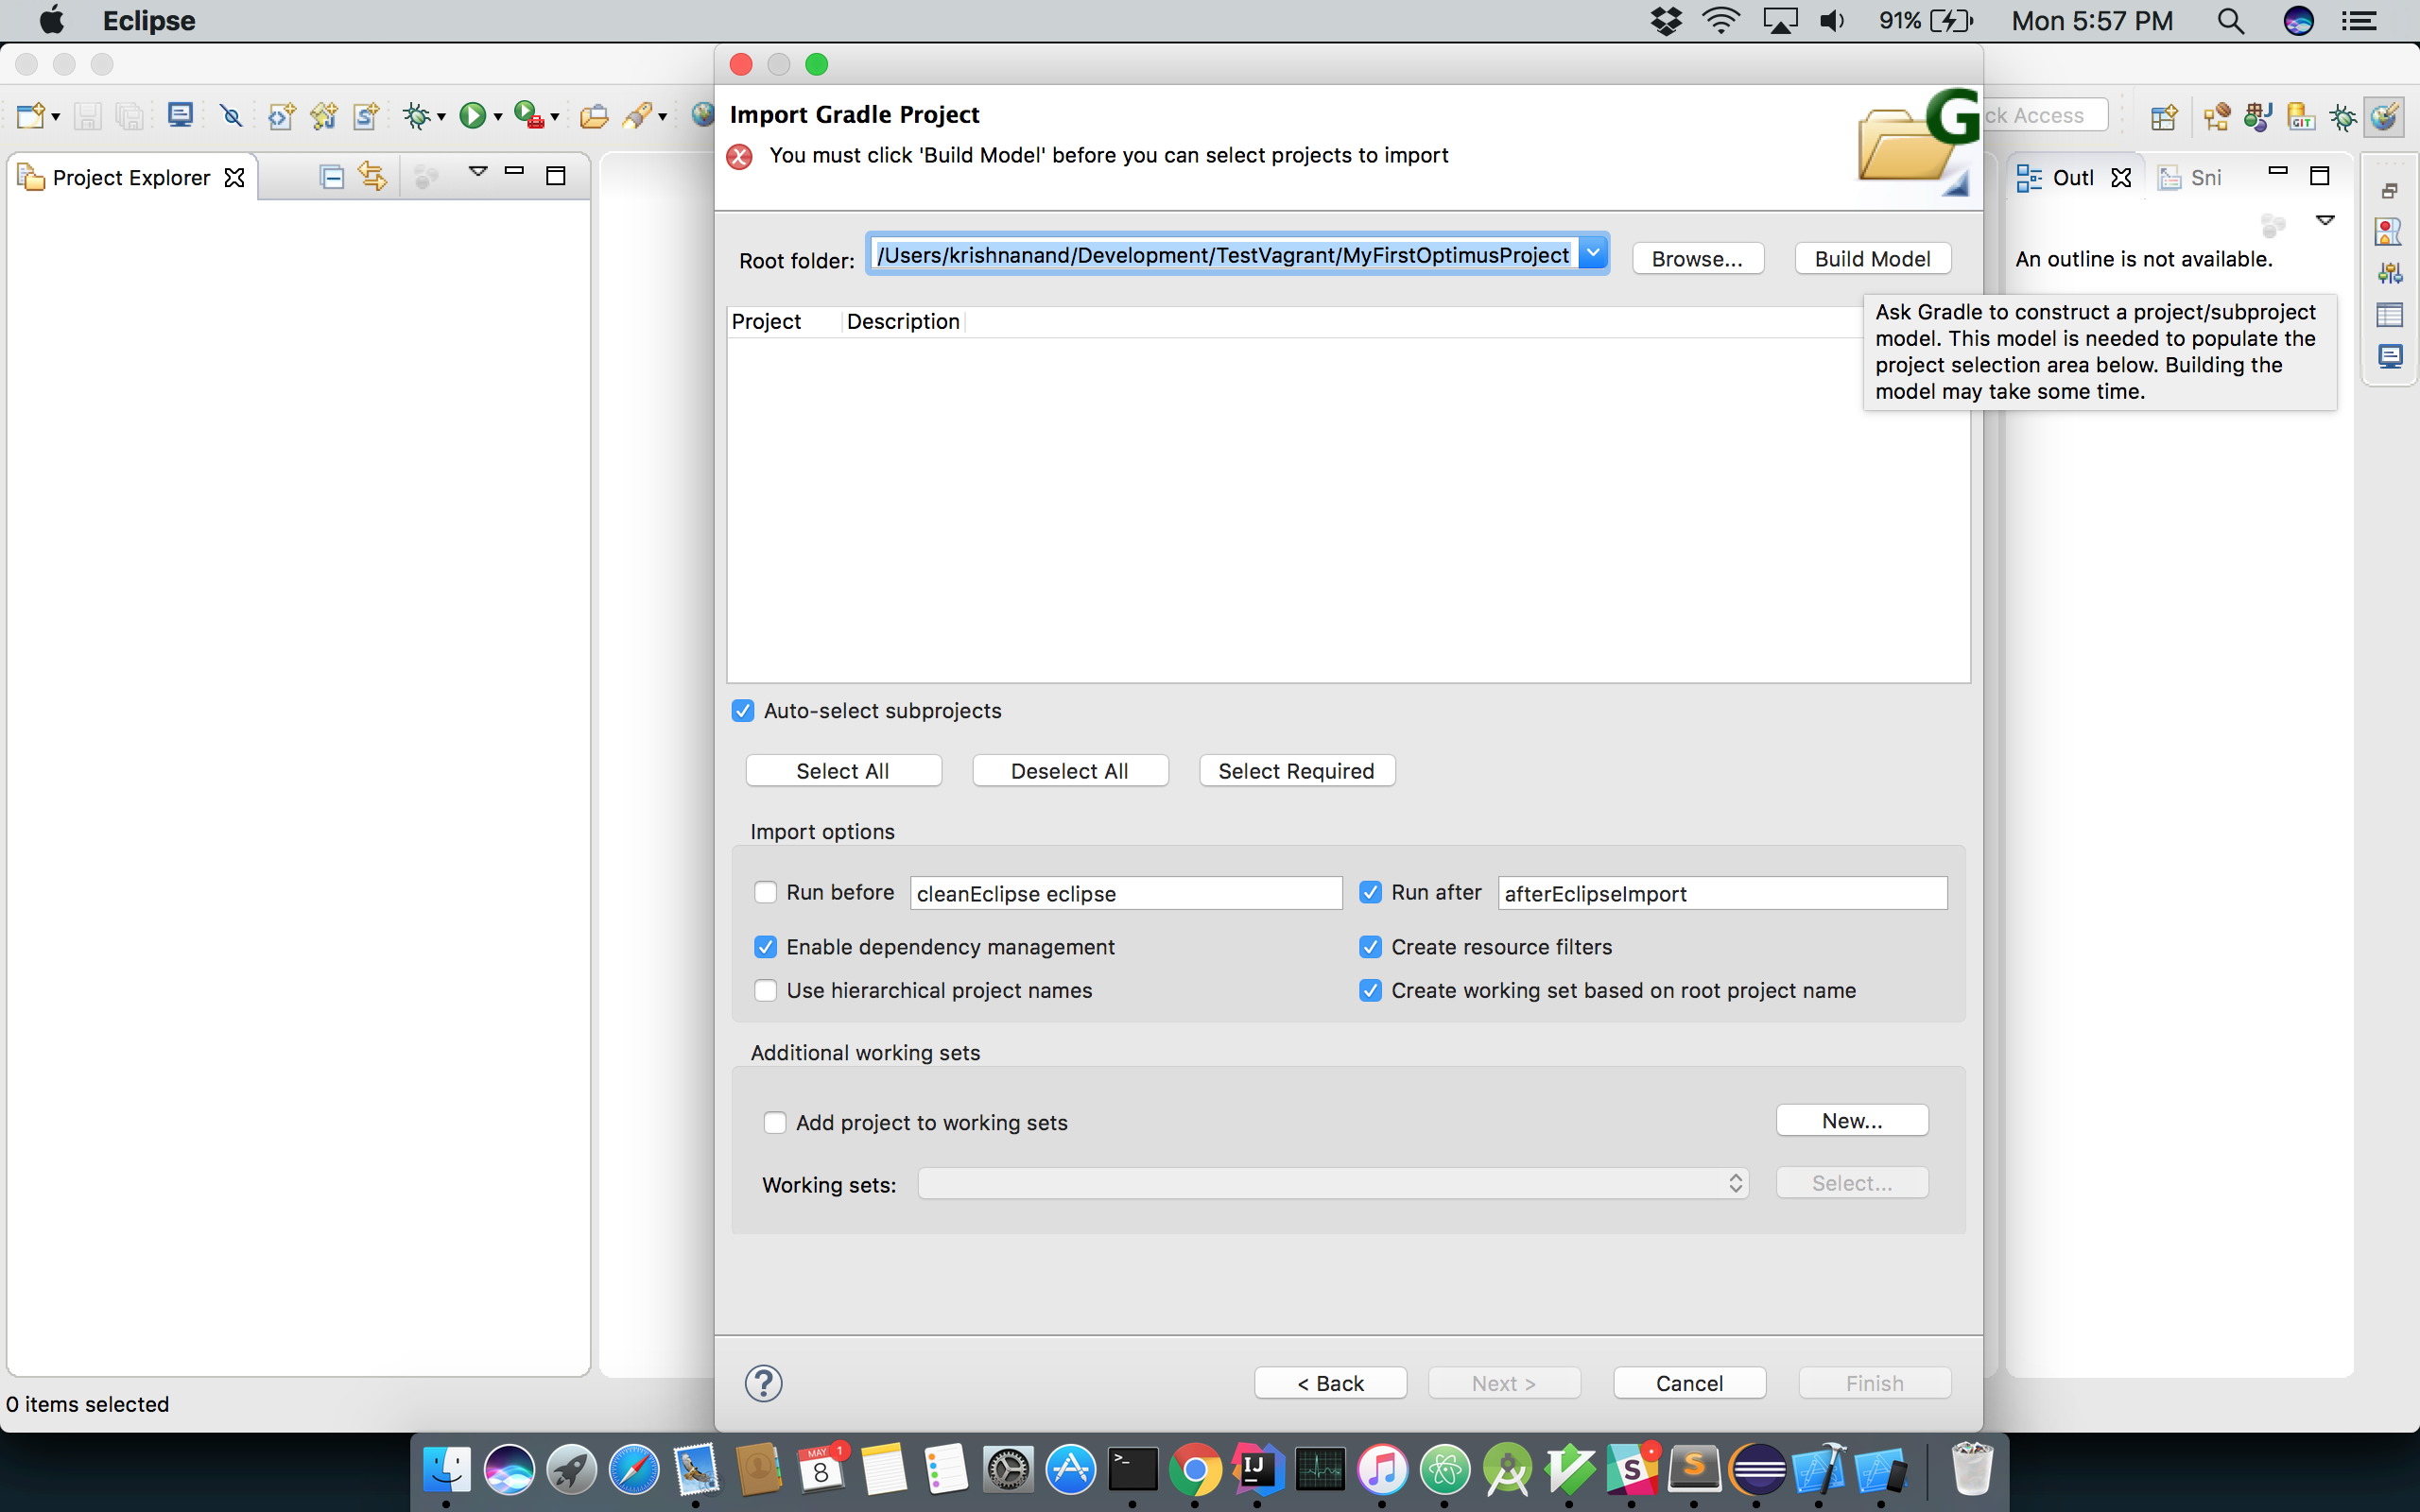
Step 4: Click Build Model
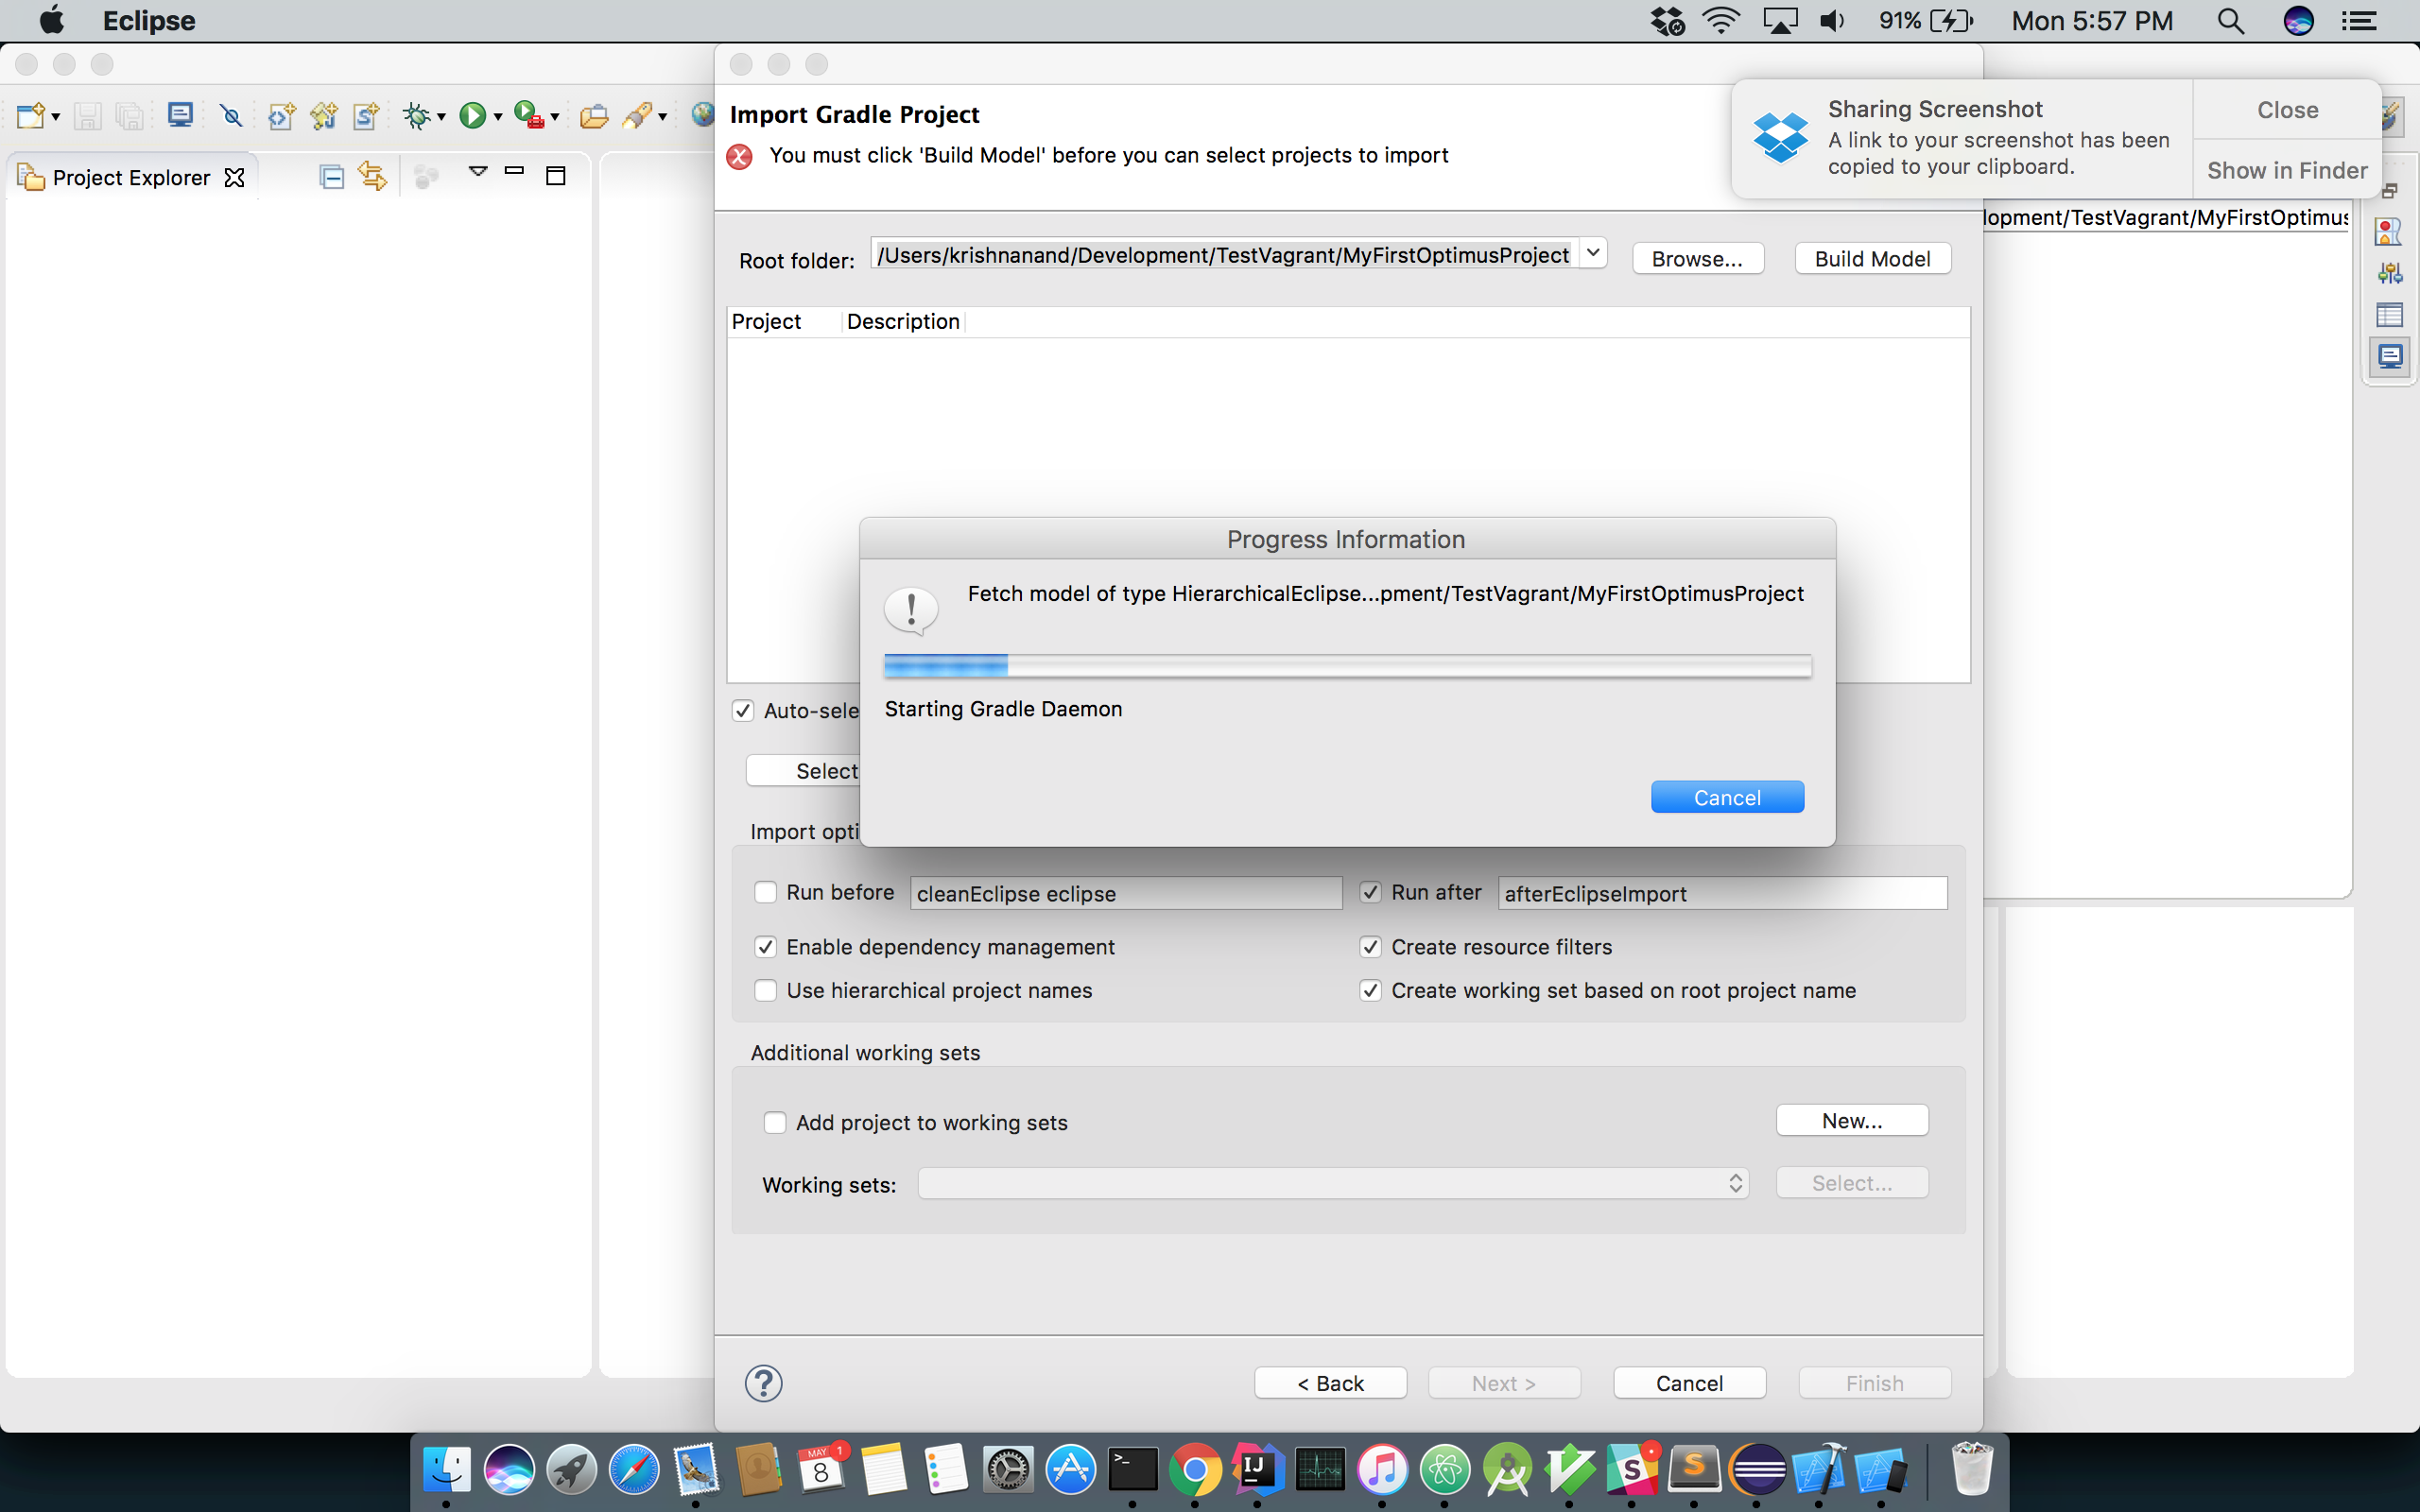
Step 5: Wait for Gradle plugin to fetch hierarchies from the project.
Step 6: Once the Project Modle is successfully created click on Finish
Step 7: Wait for the project to get imported to your workspace

Step 8: Confirm if your Optimus project is successfully imported.
